Set up a client space
Give a client one branded place for everything you share with them: name it, choose its address, add their people and invite them.
On this page
A client space is one page for one client, with your name and logo on it. It holds the documents, files, requests, forms, signatures and invoices you share with them. Clients don’t need a Docsiv account: they sign in with a code from their email.
Before you start
Client spaces are on paid plans: Pro has no limit on spaces and Team includes 10 active spaces. Free doesn’t include them, and New client shows the plans. Any member of the workspace can create a space. Only owners and admins can archive or delete one.
Create a space
- Open Client portal under More in the sidebar and select New client.
- Enter the Client name. Docsiv makes the Address from it: letters, digits and dashes, up to 40, and not used by another space in your workspace. Edit it if you like.
- Under Contacts, add each person’s name and email. Only these people can open the space.
- Choose the Account owner, the teammate who hears first when the client does something.
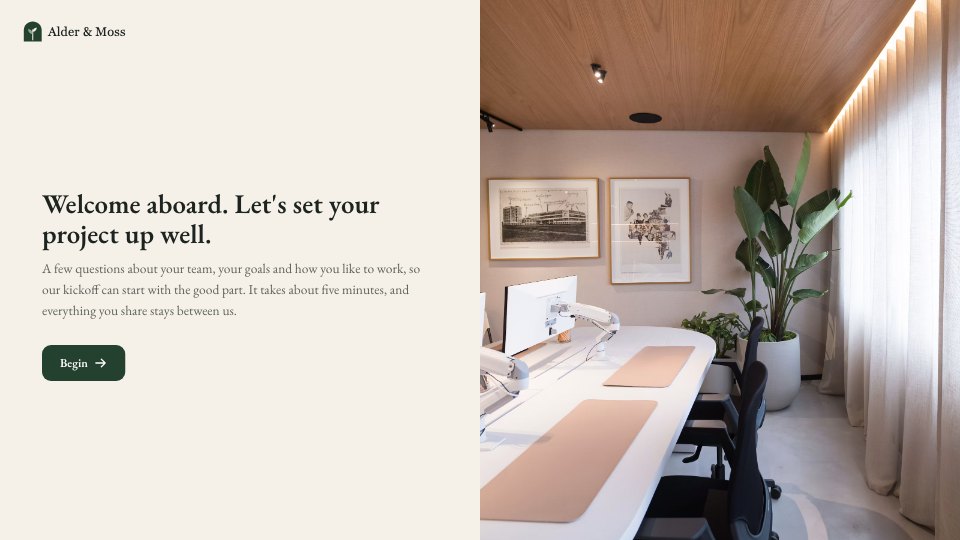
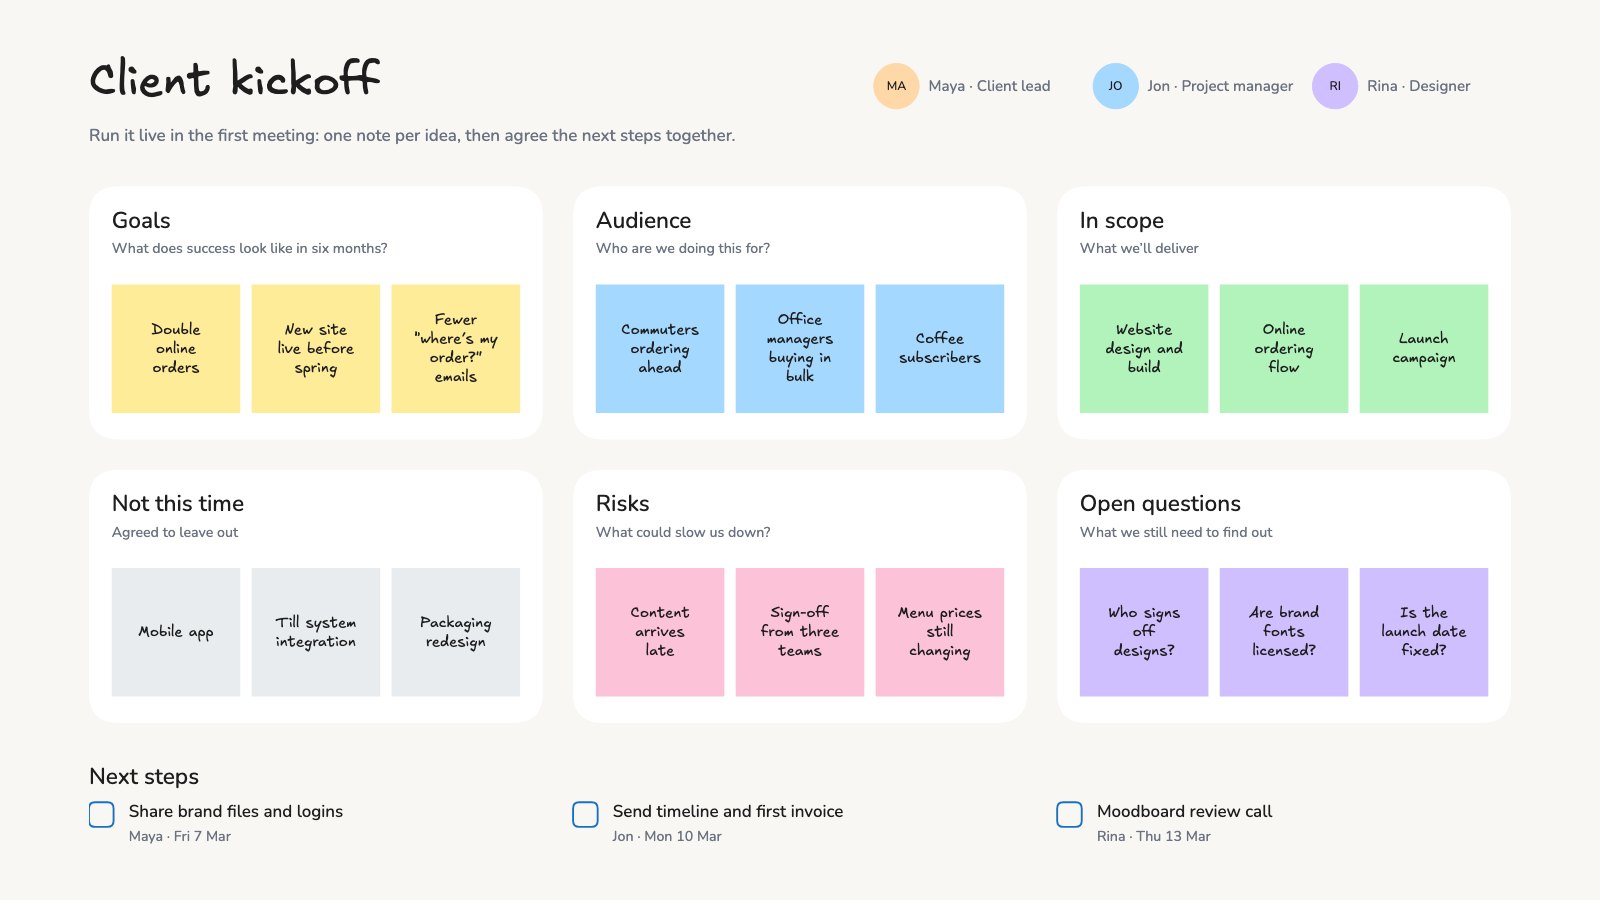
- Keep Start with the onboarding checklist on to add your checklist of questions, and Invite now on to email everyone a link straight away. Select Create space.
Make it theirs
The space shows your workspace’s name and logo (change them in Settings › Workspace) and never shows “Made with Docsiv”. On the space’s Settings tab you can add the client’s own Logo, rename it and change its Address. Changing the address stops links sent earlier from working.
Under Sections, switch off any of Documents, Files, Requests, Forms, Messages and Updates you don’t want that client to see. What’s inside is kept. To set what every new space starts with, such as the Welcome text, open Client portal › Portal settings.
With your own domain connected, spaces open there. See Use your own domain for links and email.
Invite and check
On Settings › People you can add people with Add, send Invite or Resend invite, and remove someone, who can’t open the space after that. The invitation email has the subject “Your space with” followed by your workspace’s name, and a button that opens the space.
Select Preview as client to see the space as one of their people does, read-only, and Copy link to copy its address.
Archive a space
Archive on the Settings tab closes the space to the client and keeps everything. Restore opens it again, and takes one of your plan’s places. Delete removes the space for good; the files it pointed at stay in your workspace.
Let Docsiv AI start it
Open a completed envelope in Signatures and select Set up a client space. Docsiv AI reads the signed proposal, shows a plan with the contacts, checklist, requests and welcome message, and creates the space once you approve. Nobody is emailed until you invite them.