

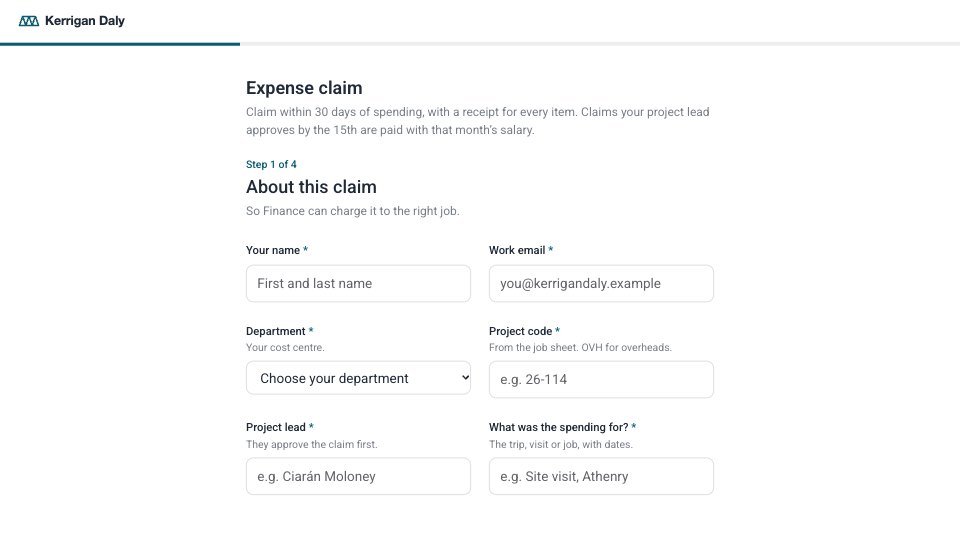
What’s inside the Expense Claim Form.
Real content in every part, ready to rewrite with your own.
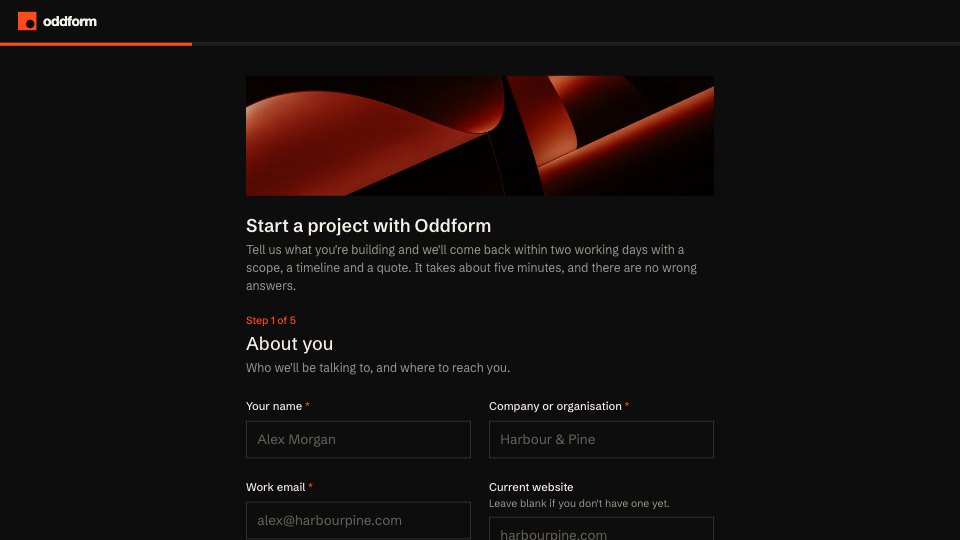
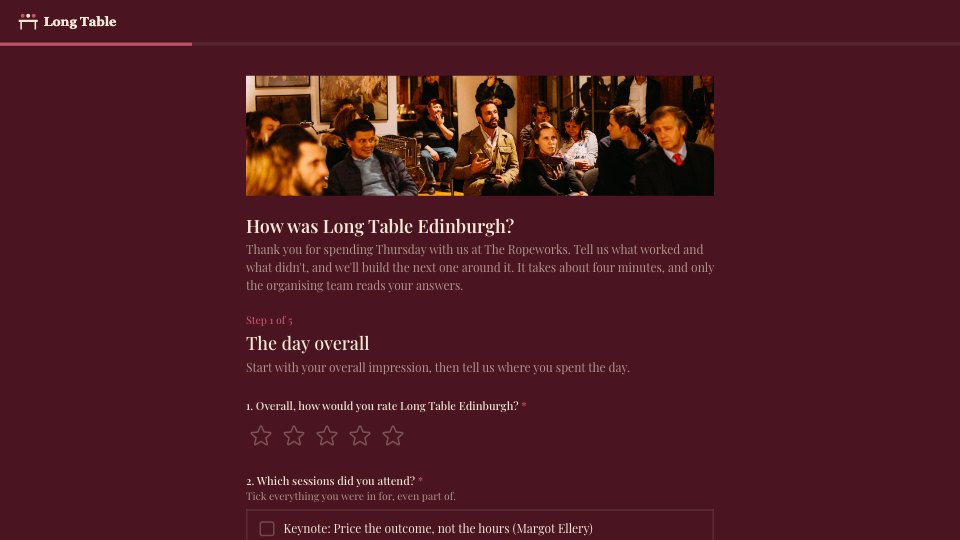
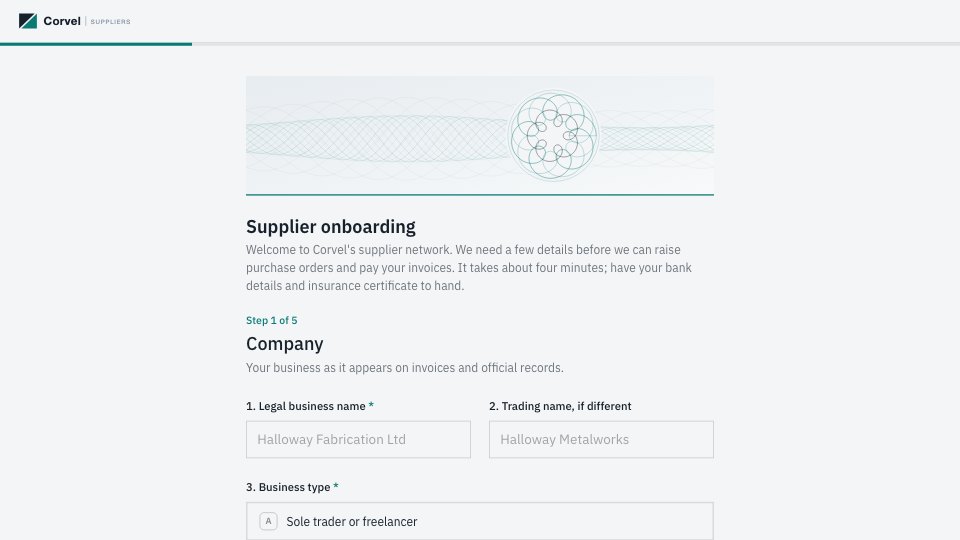
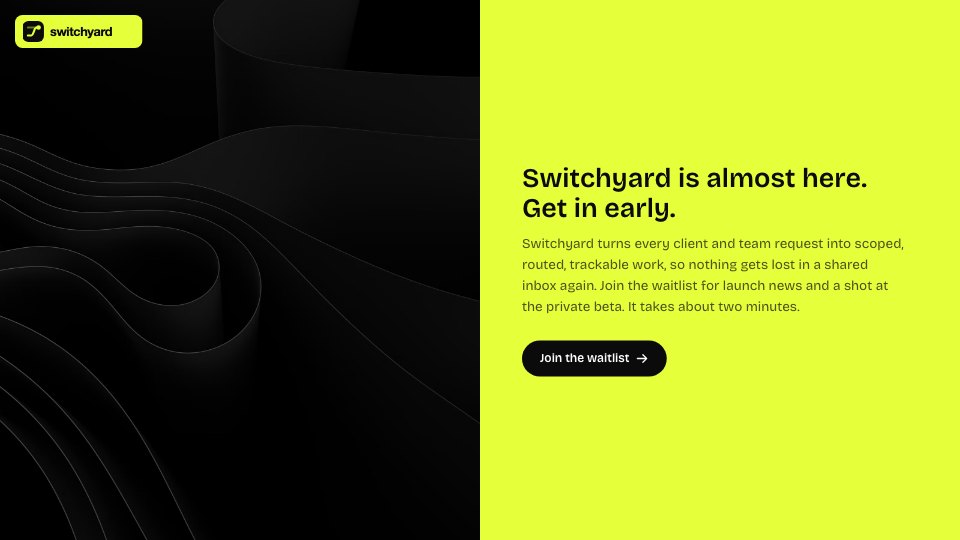
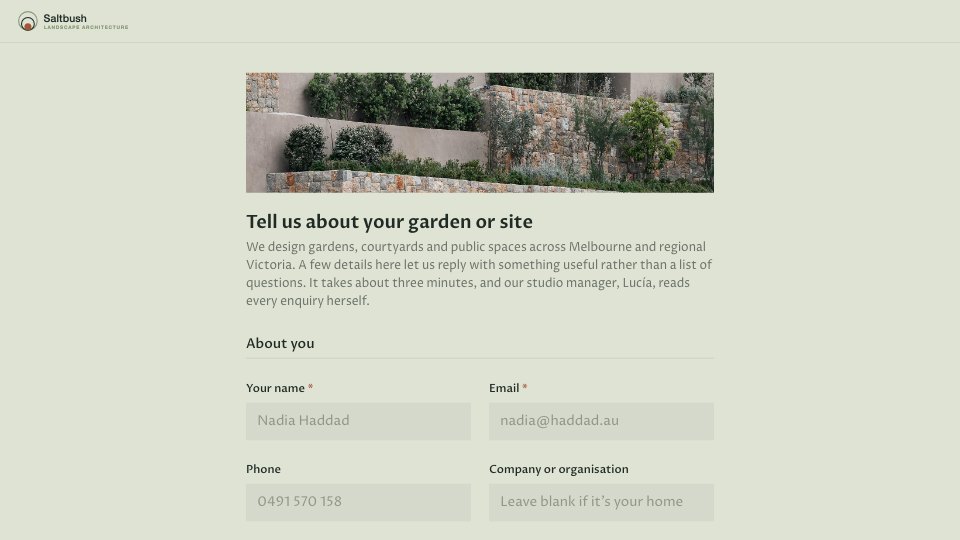
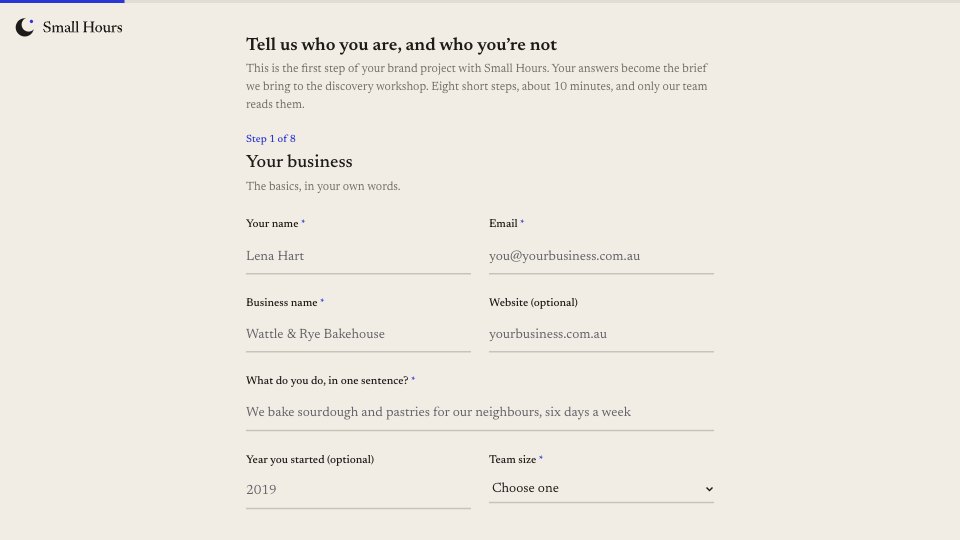
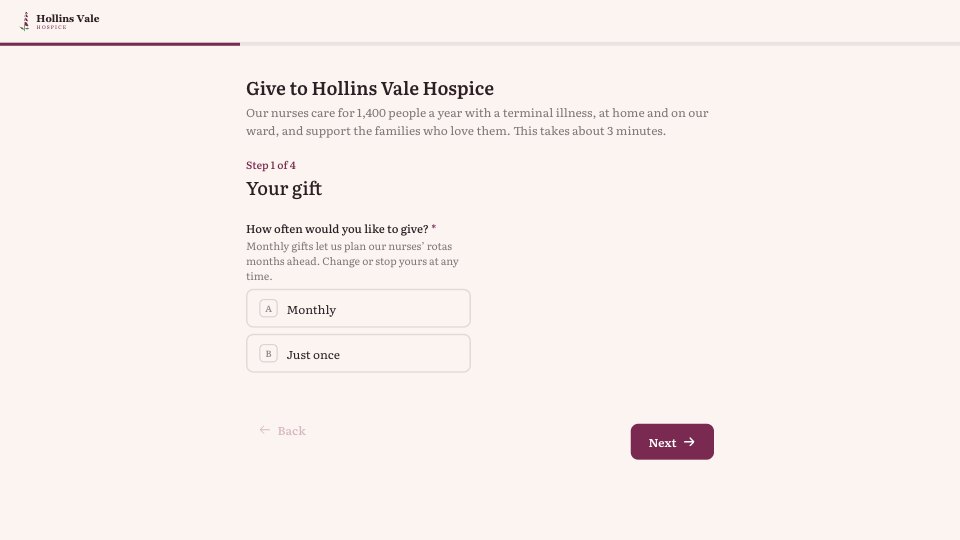
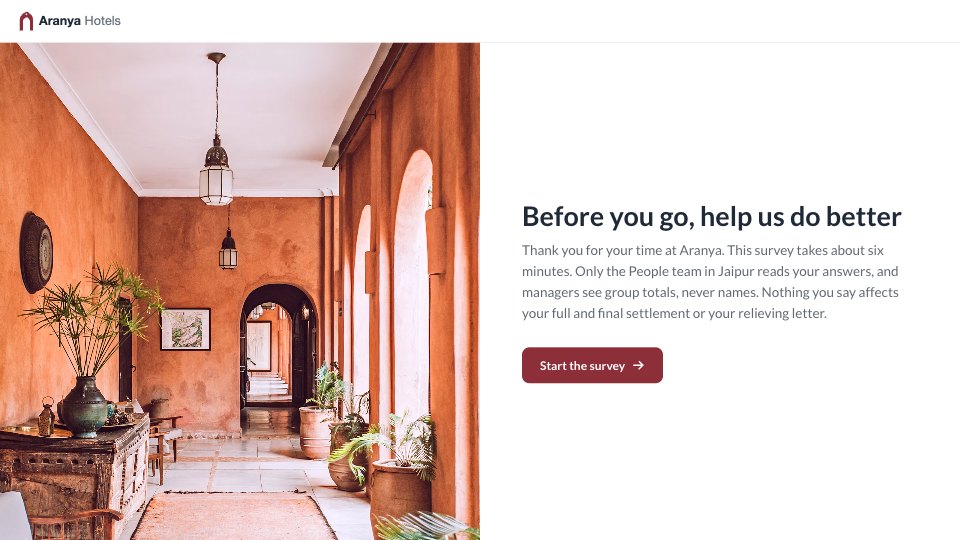
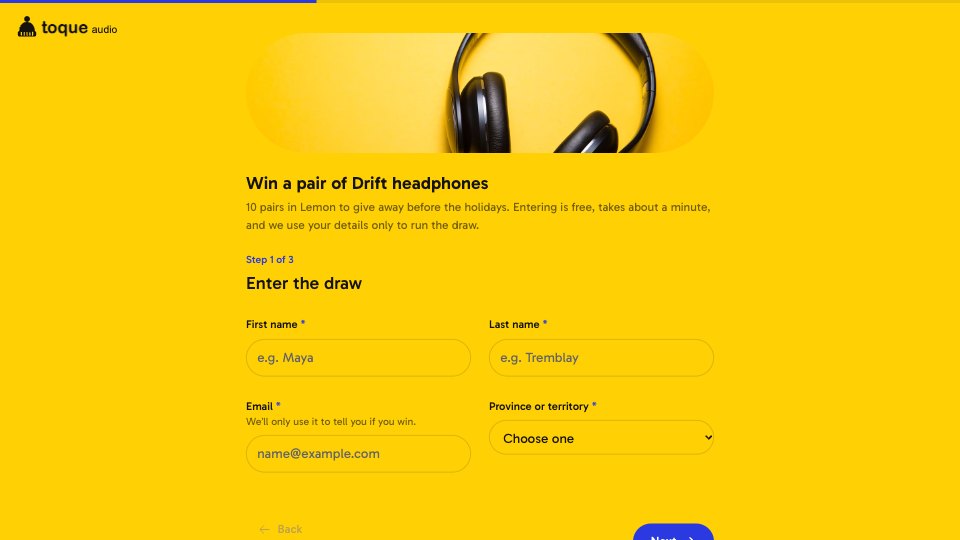
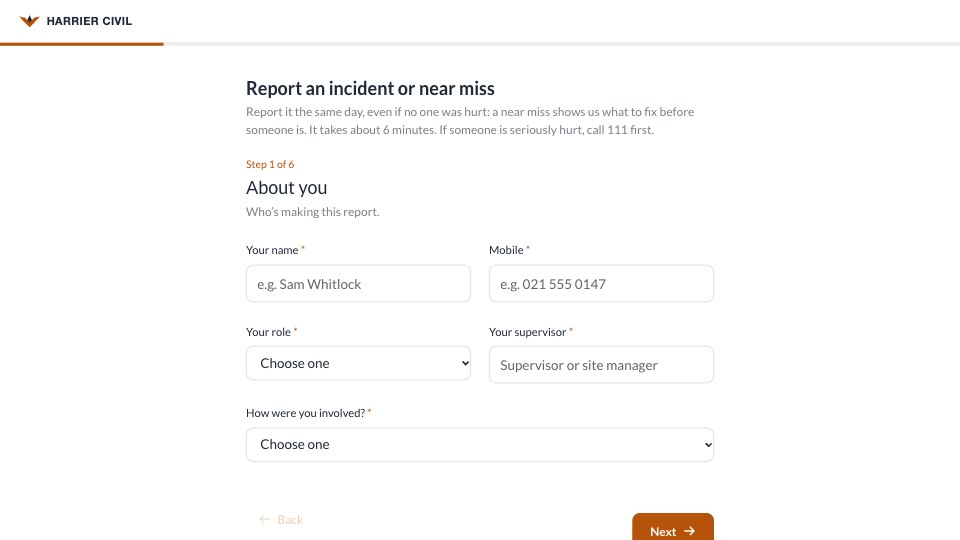
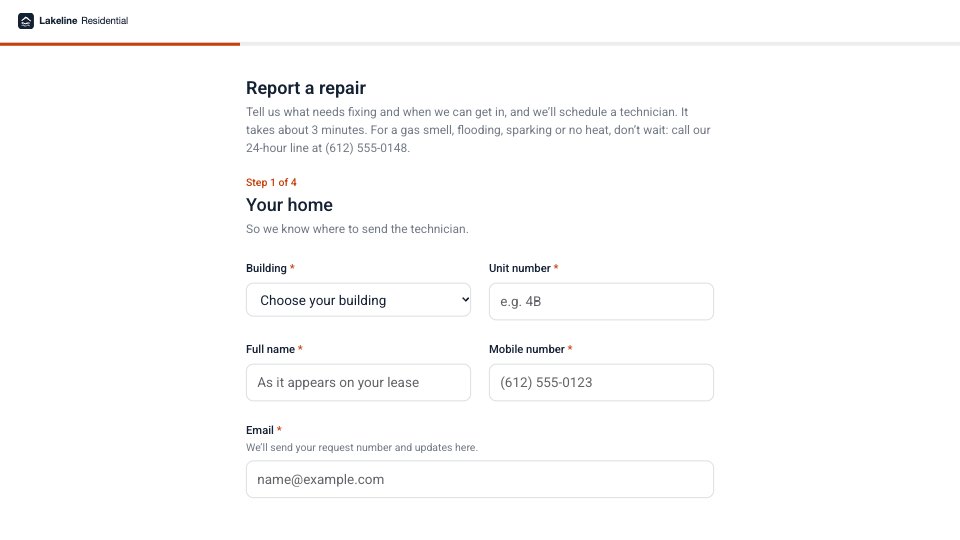
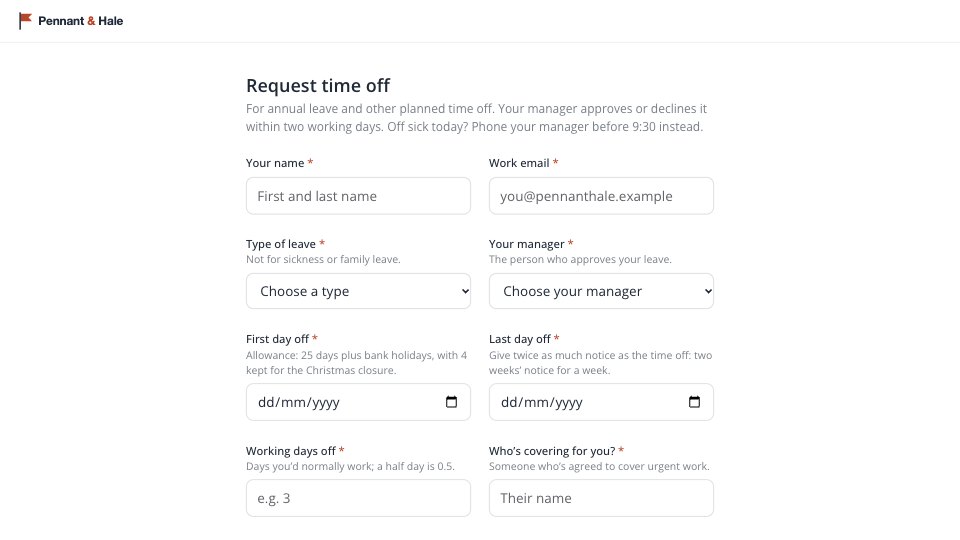
- 1Step 1, About this claim: claim within 30 days, a receipt for every item and when it’s paid; name, work email, department, project code (OVH for overheads), the project lead who approves it and what the spending was for
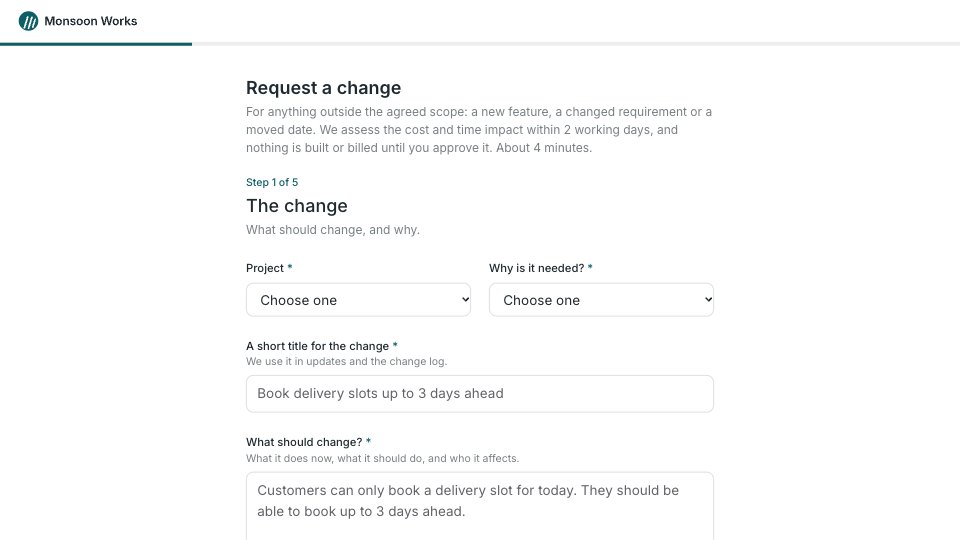
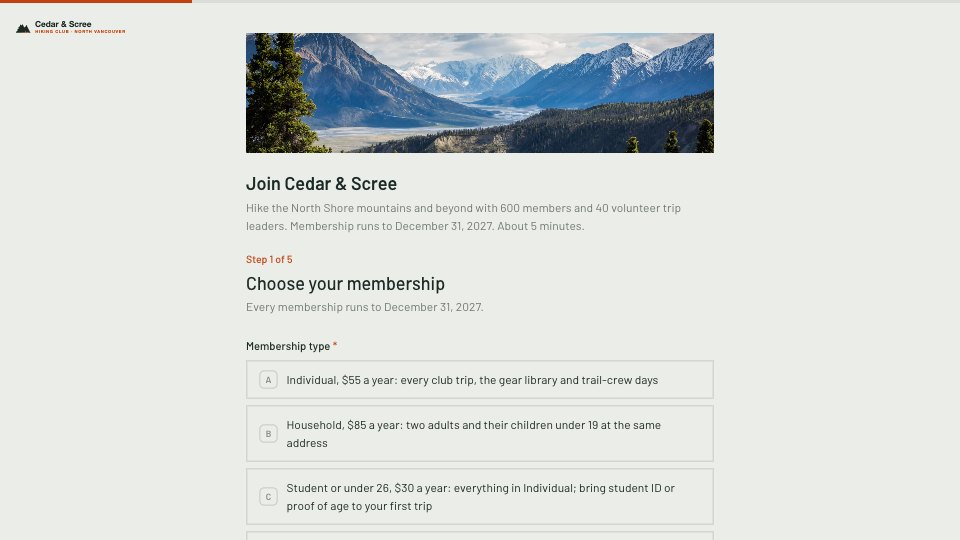
- 2Step 2, Your items: up to five, each a date, category (rail, bus or taxi; flights; hotel and accommodation; meals while away; client entertainment; parking and tolls; site equipment and PPE; training and professional fees; other), what it was, the amount in euro including VAT, and the receipt as a photo or PDF
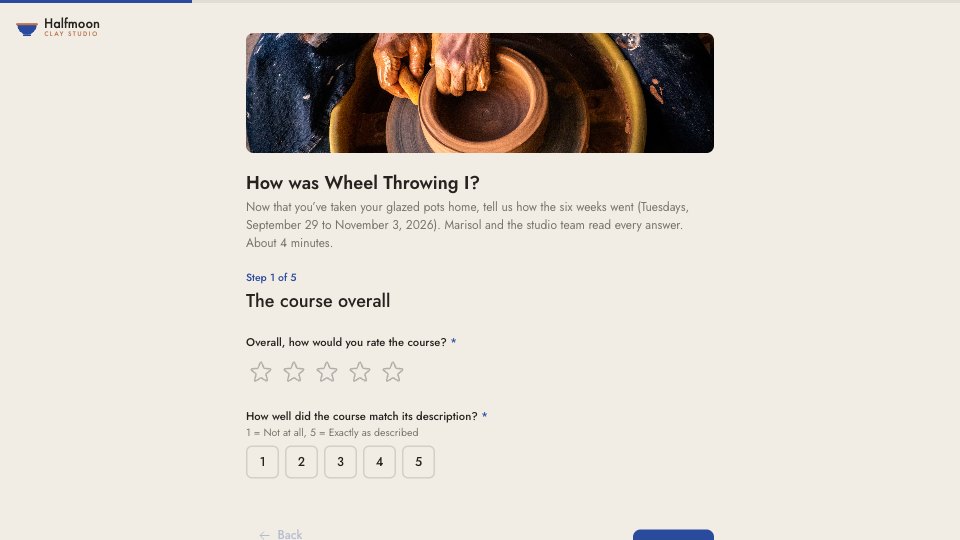
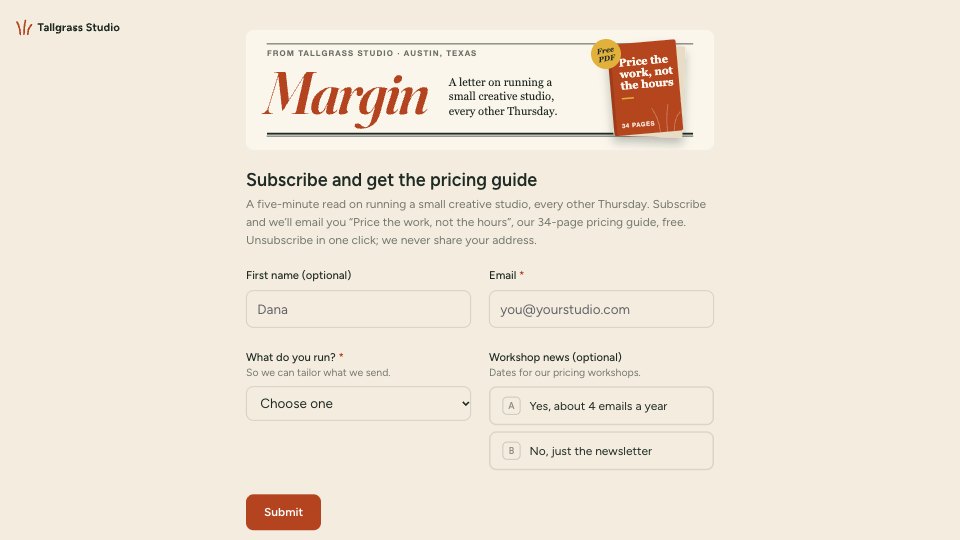
- 3Step 3, Mileage: whether they used their own car, then, when they did, the date, car registration, from and to, kilometres and the engine size (up to 1,200 cc, 1,201–1,500 cc, 1,501 cc and over, electric) for the civil-service rate
- 4Step 4, Payment and declaration: the total of the receipts, how it was paid (own money, company card, or some of each, with the card amount), anything Finance should know (optional), the declaration that the costs were wholly, exclusively and necessarily incurred, and a typed signature and date
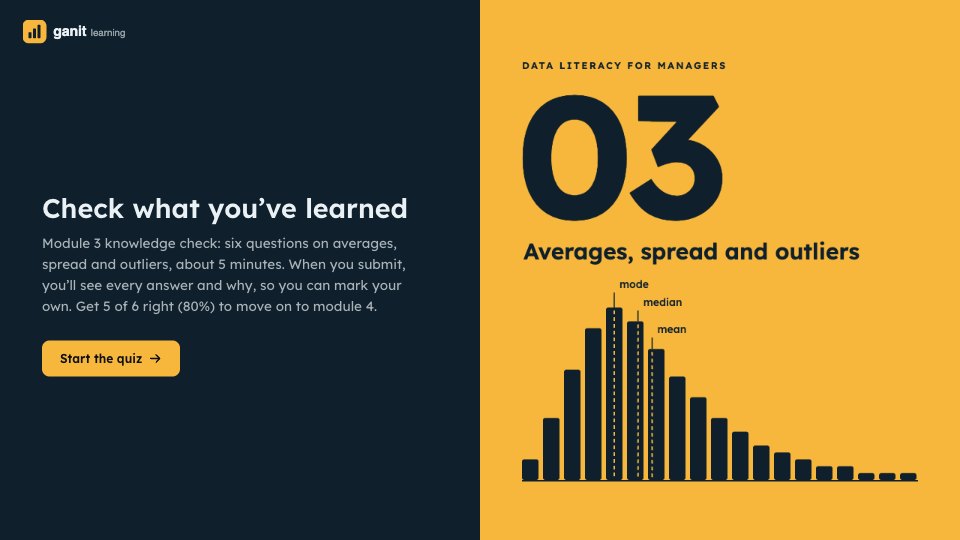
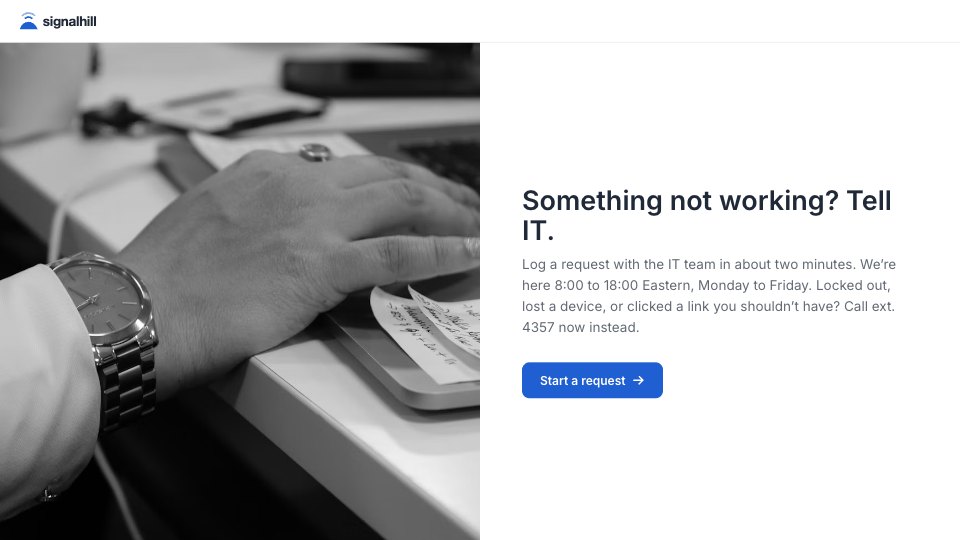
- 5Thank-you: the project lead approves, Finance checks the receipts, paid with that month’s salary if approved by the 15th, and who to ask, with a photo
When to use it.
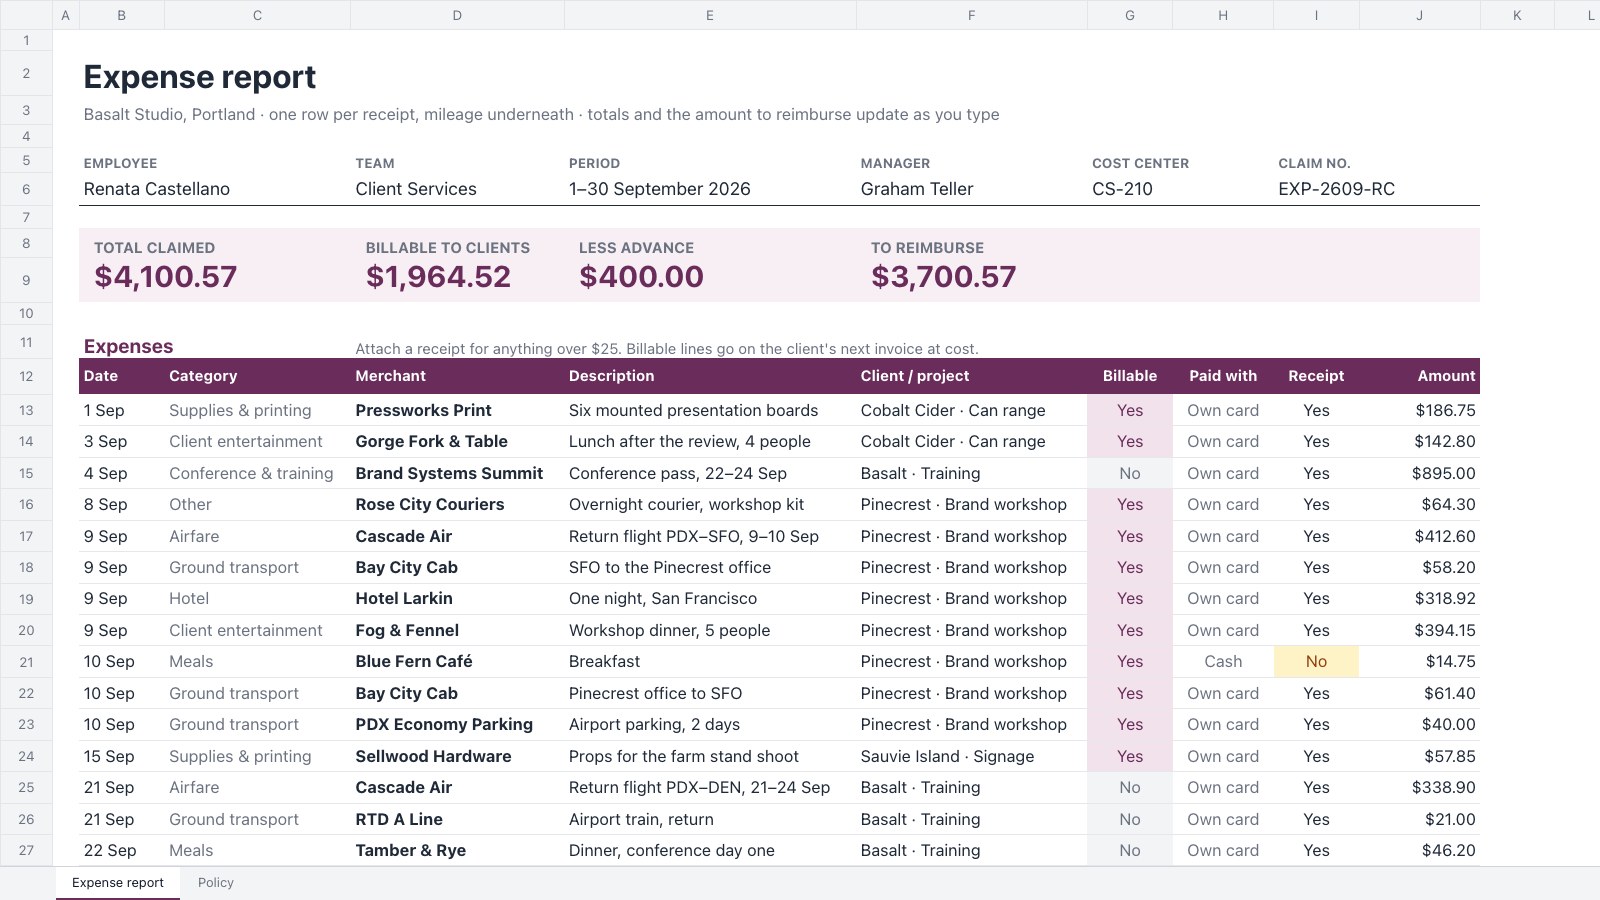
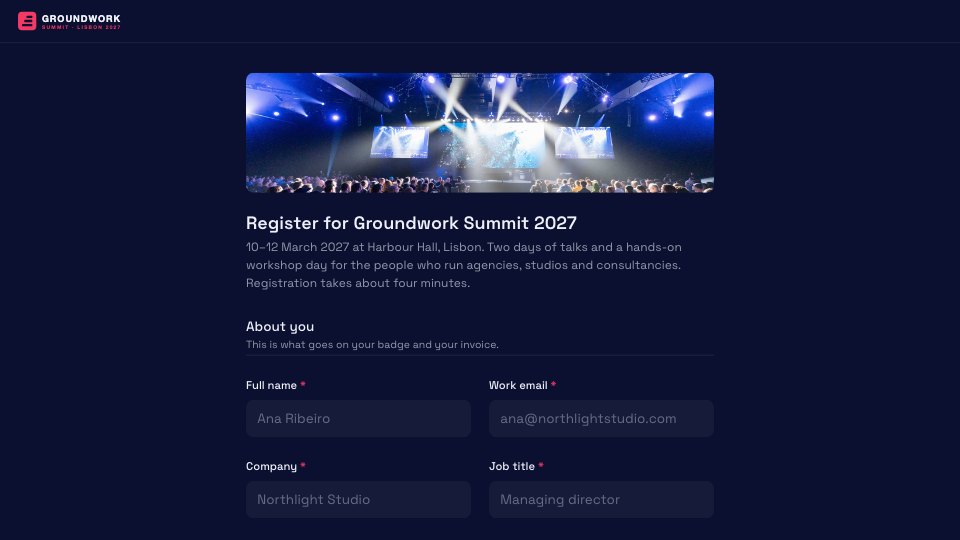
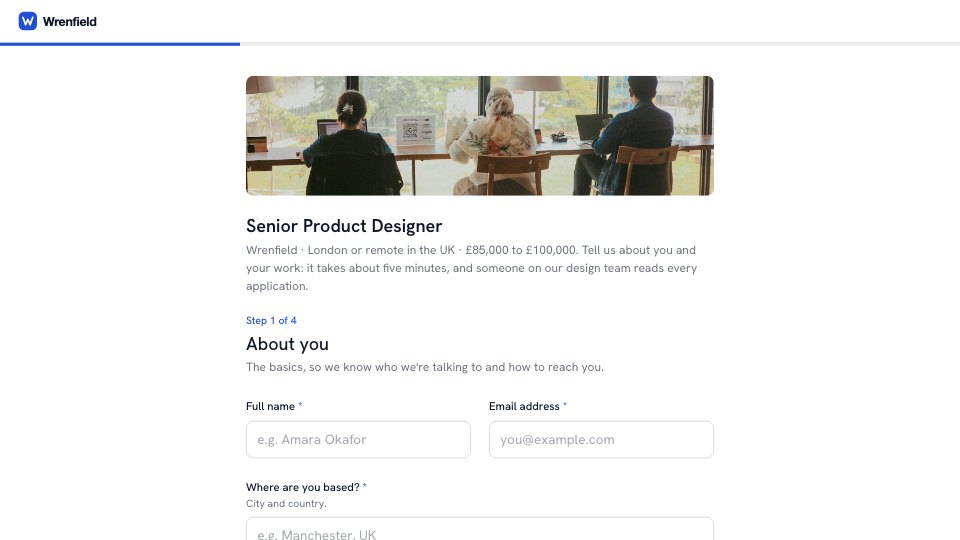
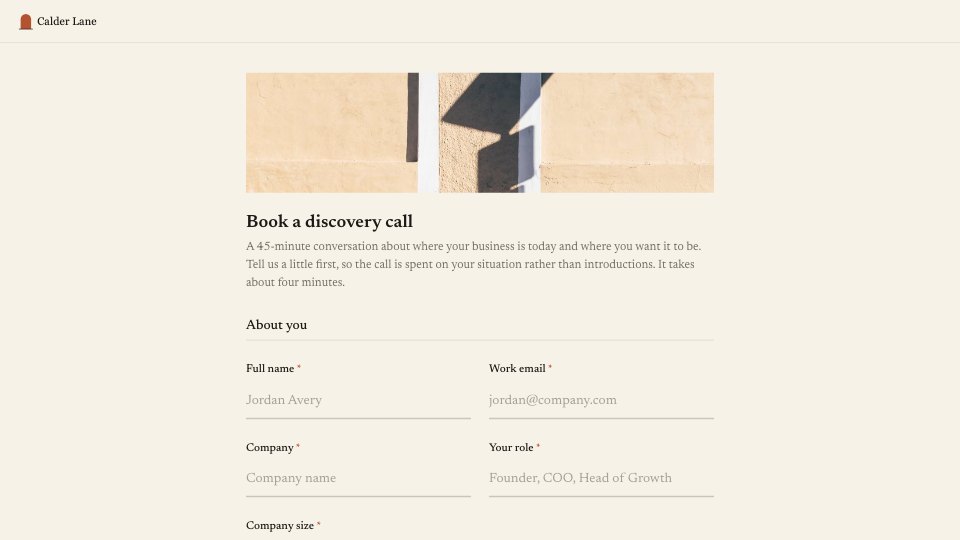
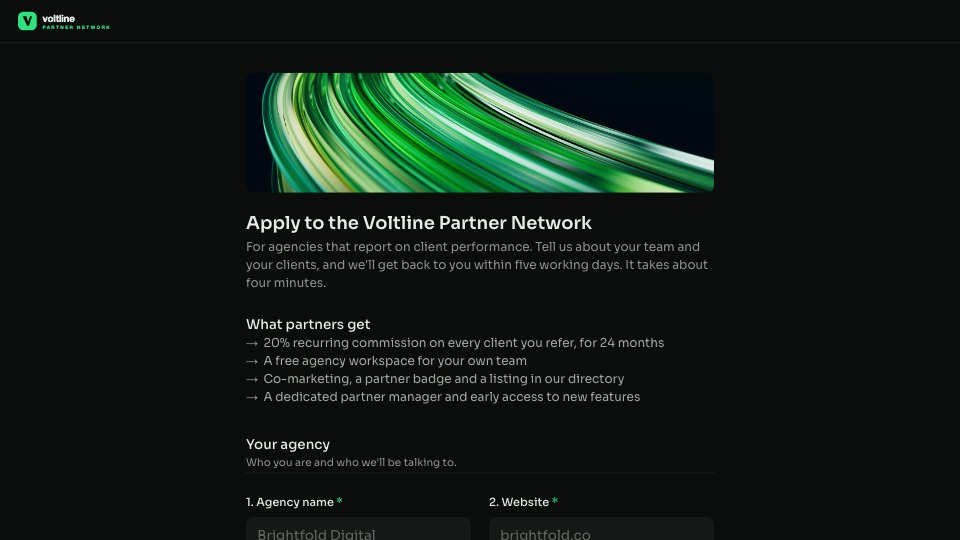
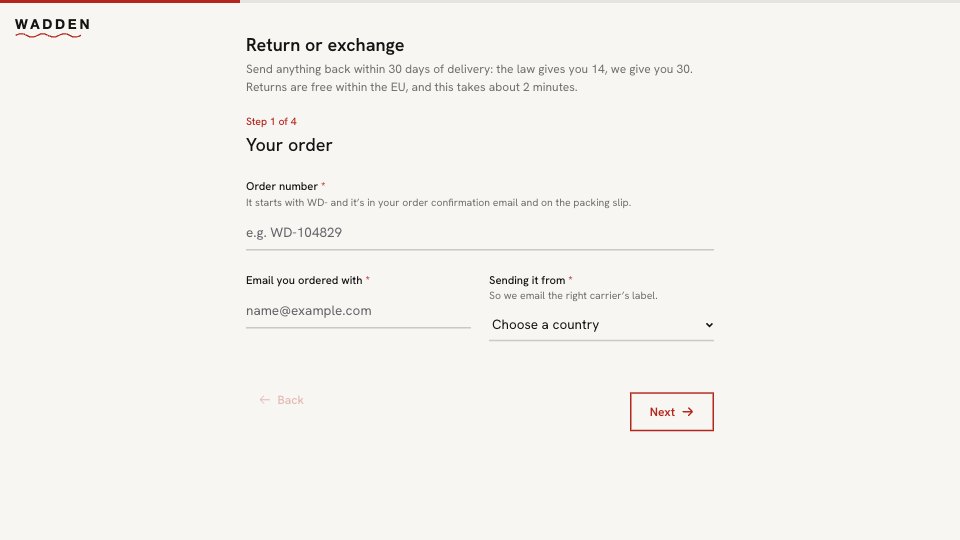
Expense Claim Form is a four-step form staff fill in to be paid back for work spending, shown for an Irish engineering firm. It asks who is claiming, their department, the project code and the project lead who approves it, then up to five receipts, each with a date, category, description, amount including VAT and the receipt as a photo or PDF. Mileage in their own car has its own step, with the engine size that sets the rate. It ends with the total, how it was paid, a declaration in the wording tax rules use and a typed signature.
Made for
- Freelancers who bill by the hour or day
- Studio and agency owners
- Consultants running their own practice
- Small businesses without a finance team
Make it yours in four steps.
Open it in Forms and work through it, or let Docsiv AI do the first pass with your details.
- Step 1
Add your company name, logo and colour, and put your own departments and expense categories in the dropdowns.
- Step 2
Change the project code format, the 30-day rule and the payroll date to match your policy.
- Step 3
Check the mileage bands and the declaration wording against the rules where you are.
- Step 4
Share the link with staff, and check each claim’s total against its receipts before you approve it.
Start from the Expense Claim Form now.
Questions about this template.
Something else on your mind? Ask us in the chat, bottom right of the page.
Is the Expense Claim Form template free?
Yes. Create a free account and it opens in Docsiv's Forms app, ready to edit and share. The Free plan includes every Docsiv app and 500 AI credits a month.
Can I change the colours, fonts and text?
Yes, all of it. The template uses Roboto with #FFFFFF, #1F2937, #0B5C72, and you can change any of them, rewrite every word and add or remove questions.
What can I export it as?
Forms in Docsiv offers: Responses exported as CSV. Once it's saved, you can also share it with a link.
Can Docsiv AI write the expense claim form for me?
Yes. Tell Docsiv AI about the client or project and it can draft the content in this template's style, which you then review and edit. AI uses credits; the Free plan includes 500 a month.
Where do the responses go?
Responses are collected in Docsiv with the form, and you can export them as a CSV file.
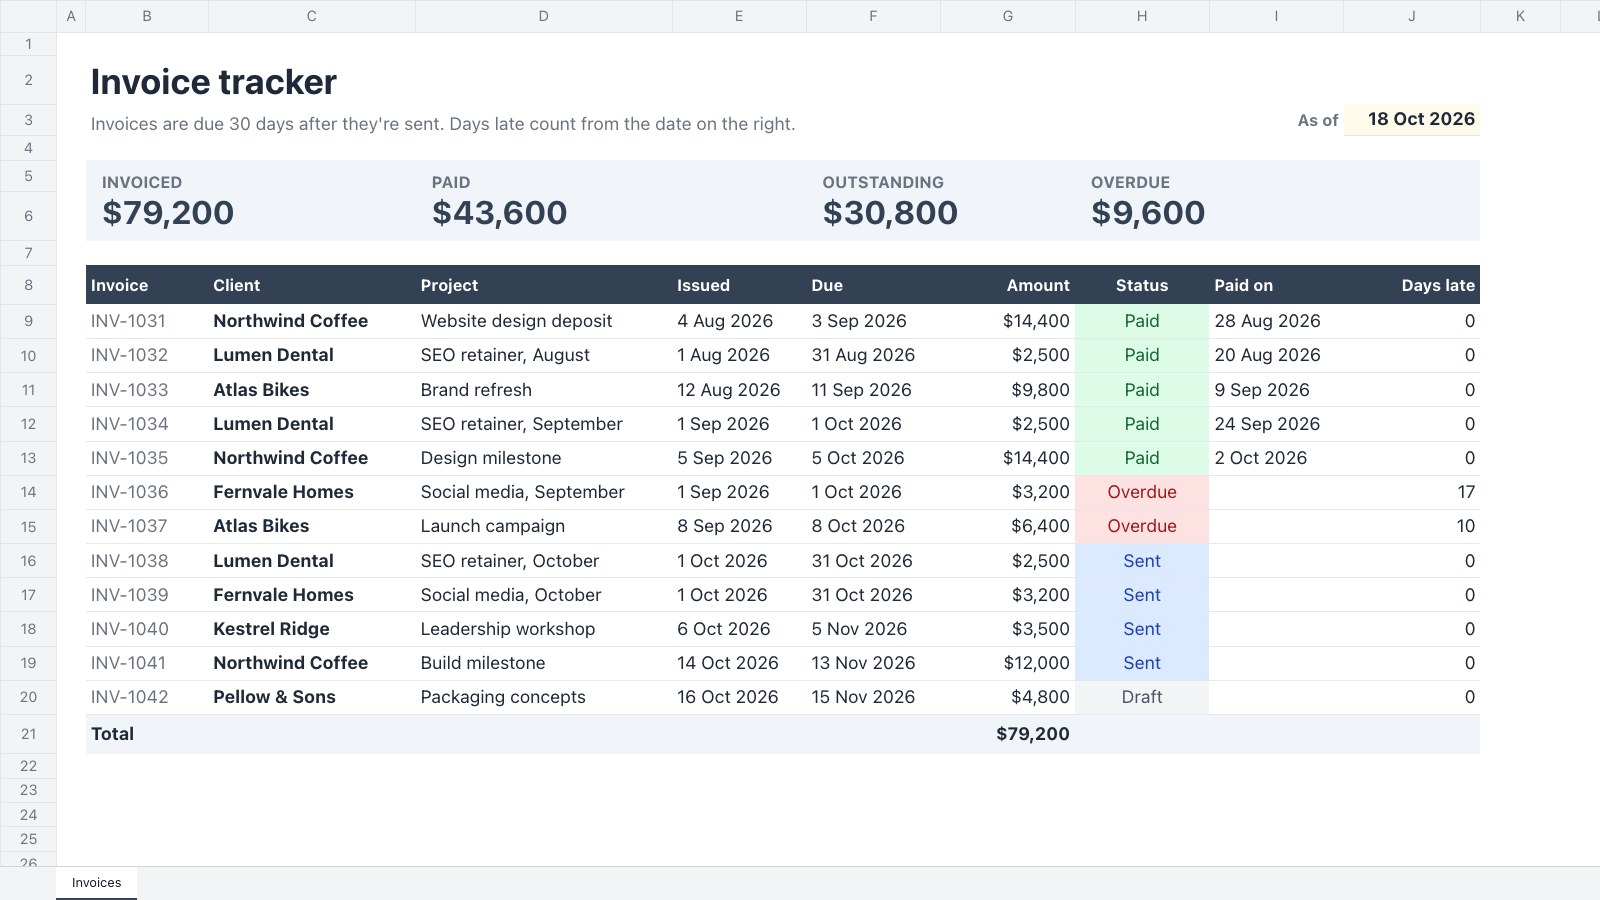
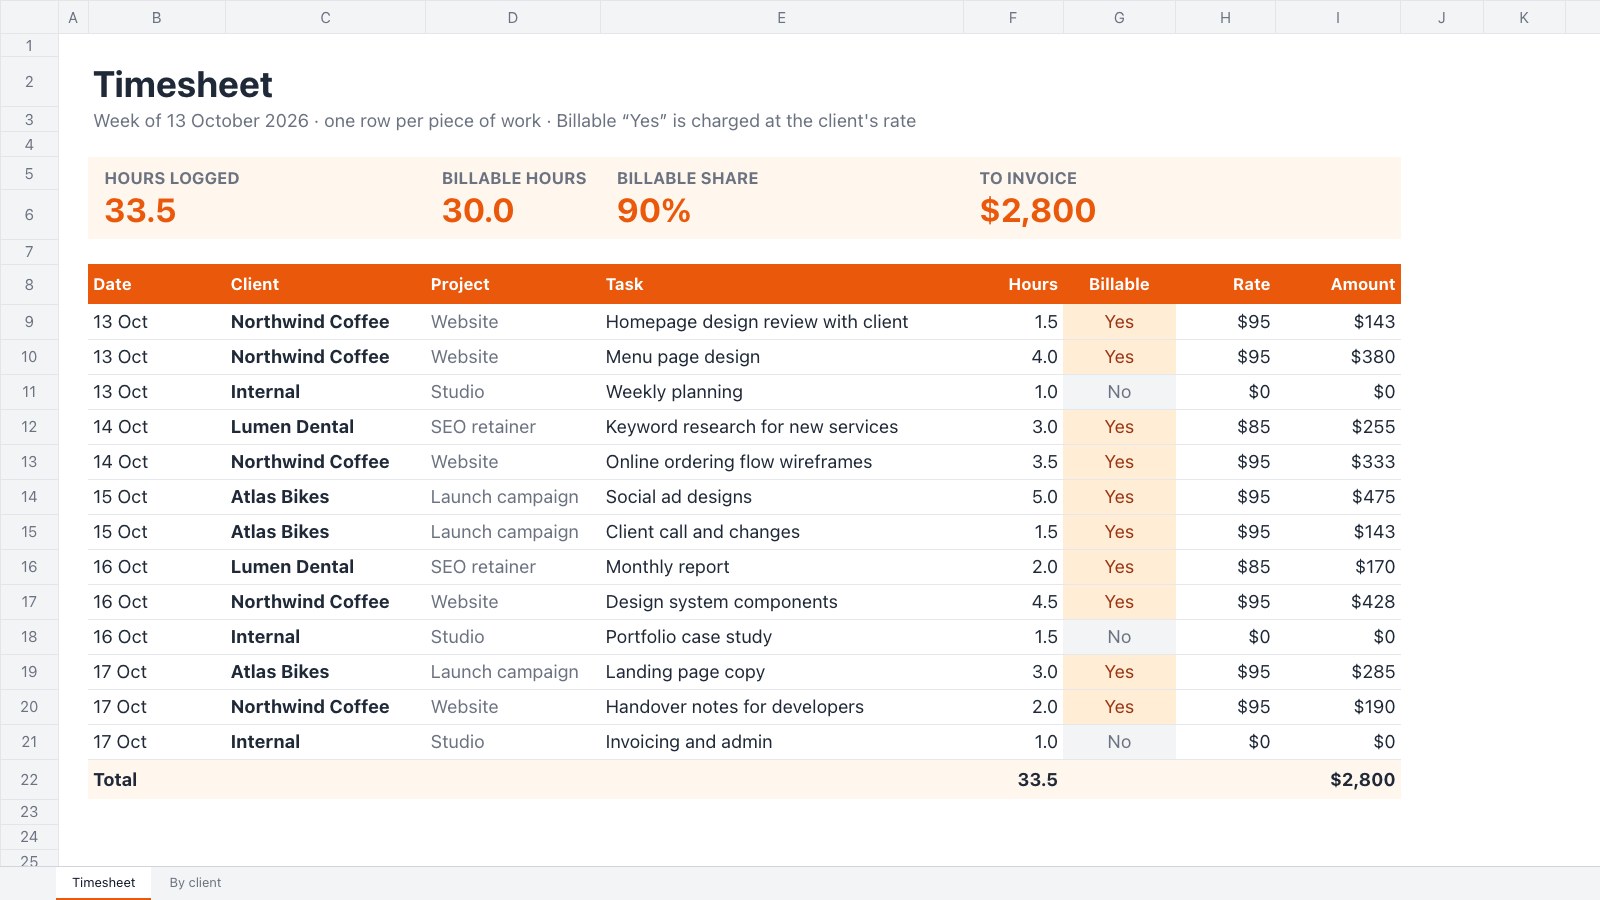
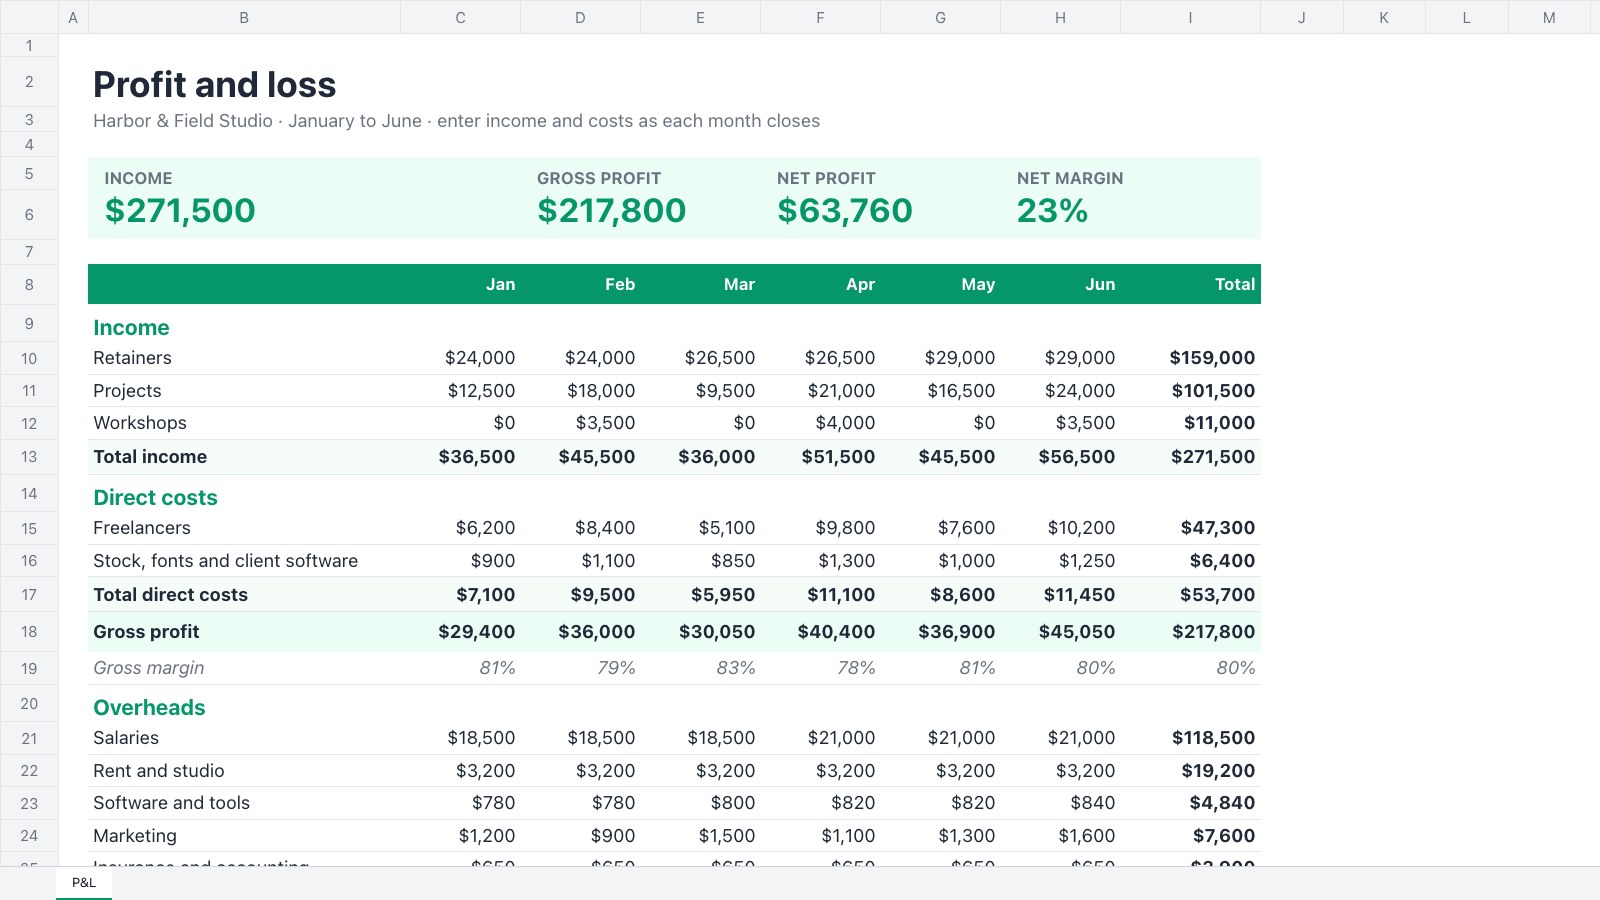






Start your spreadsheet with Docsiv AI
Describe the client or the project and Docsiv AI writes a first draft of your expense claim form for you to edit, share and send.